Copt Heath Golf Club![]()
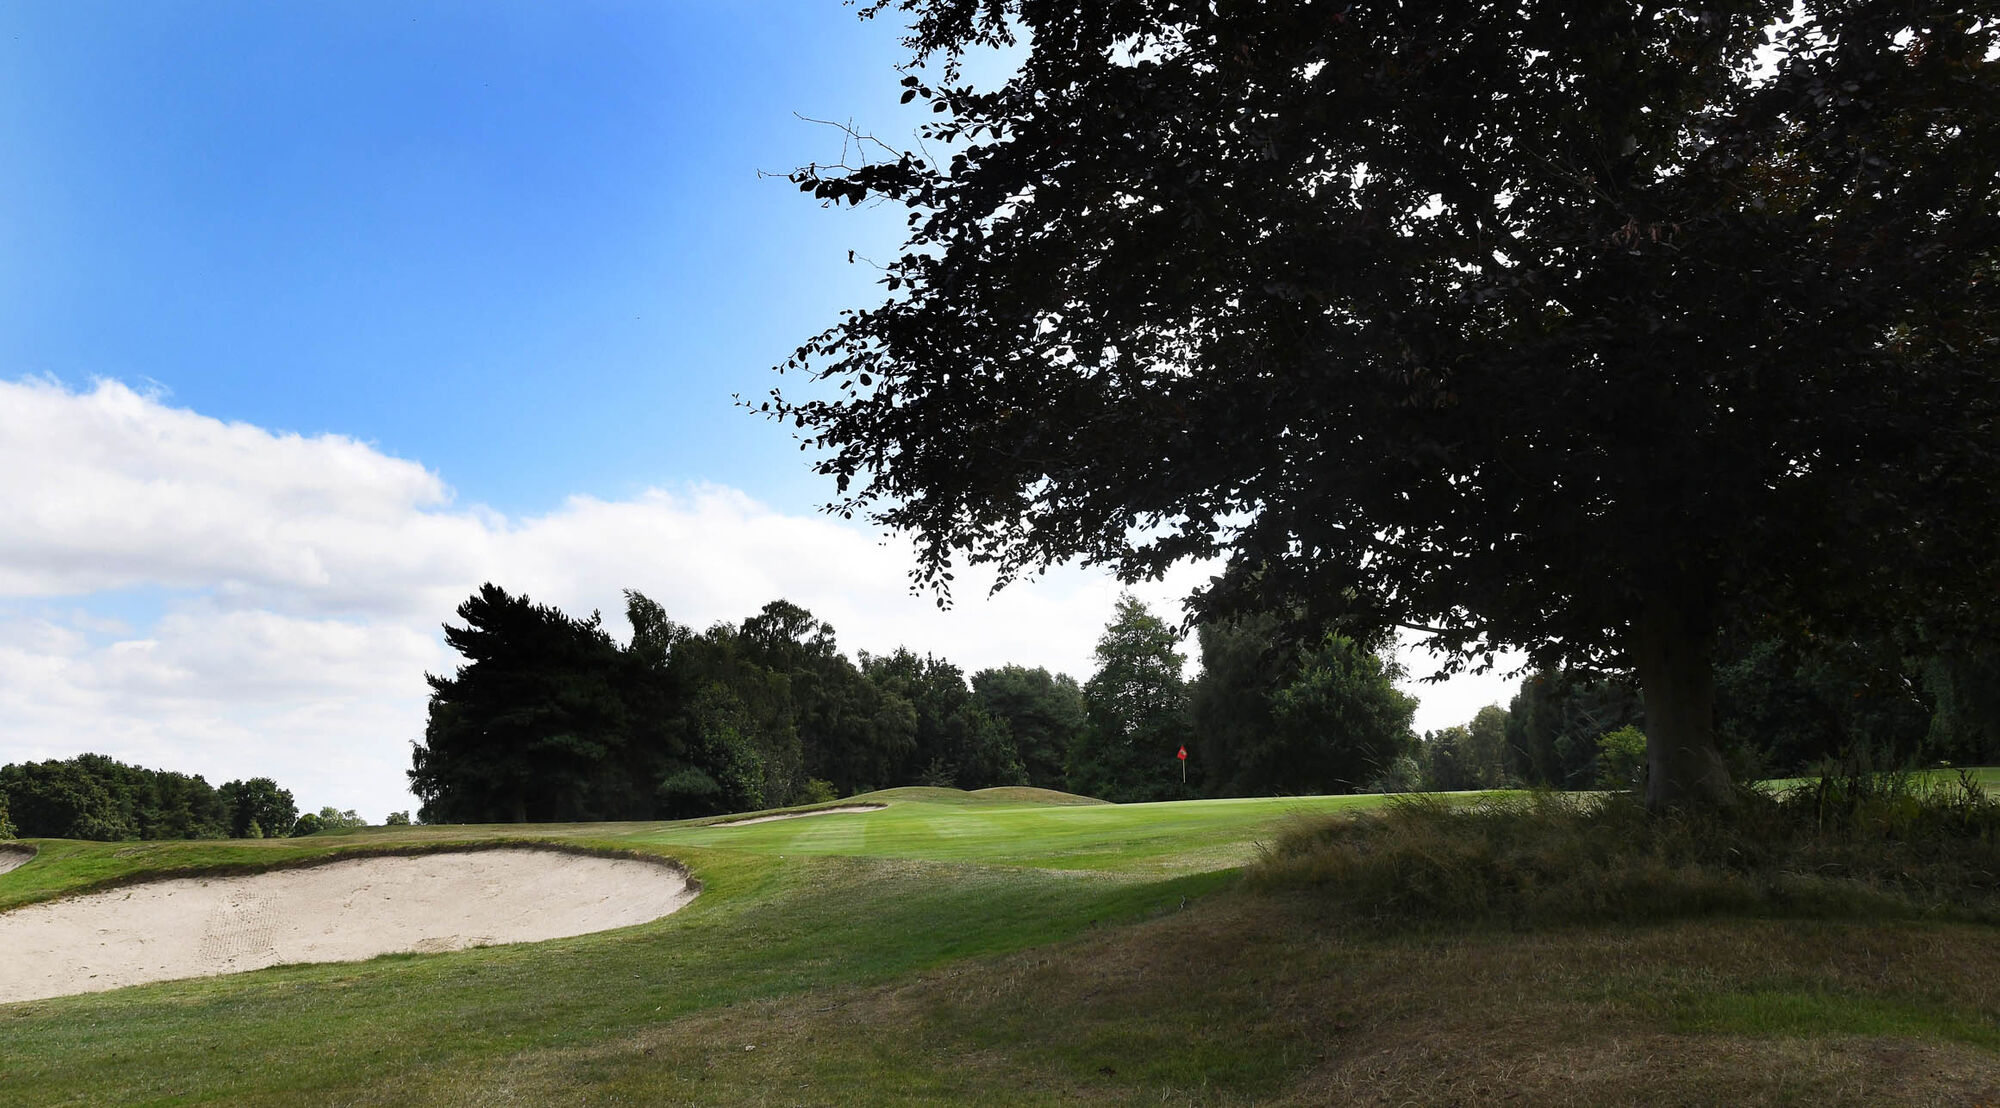


Hole 11
Hole 11
Peter McEvoy's Tips
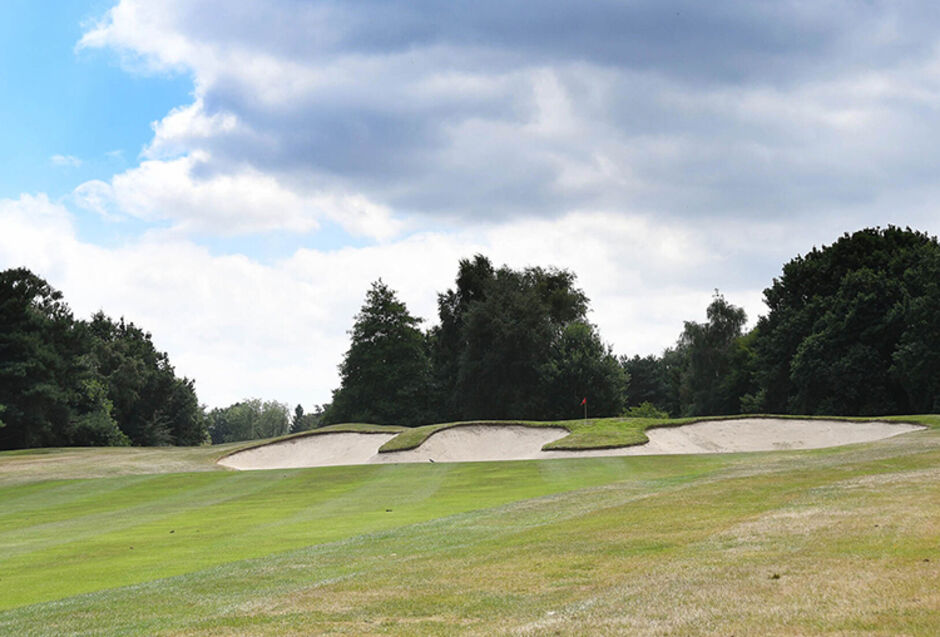
For the average player, this hole is very well bunkered with fairway bunkers right in play. Stronger players will hit to a wide area beyond them.
The challenge for the handicap golfer continues with a vast cross bunker to catch the poorly hit second shot. A bogey is an excellent result for anyone caught by this bunker.
The cross bunker also makes the second shot partially blind with the bottom of the pin out of sight. A tip here - have a look at where the pin is when playing the 6th.
The green itself is of modest contour and only protected on the left with a lone bunker.
1220 Warwick Road, Knowle, Solihull, West Midlands, B93 9LN
Telephone: +44 (0)1564 731620
Email: Admin@coptheathgolf.co.uk
Created by intelligentgolf version 10.1.2.